• Stop being a LURKER - join our dealer community and get involved. Sign up and start a conversation.

Setting up a Photo Booth

Not sure how I feel about the DuffyL photos. Some of those look over edited and therefore "fake".
As a customer, I would assume you are editing the photos and would hide imperfections while you are there.
I much prefer photos that don't look edited, even if they have been. As soon as you touch the saturation I can tell and it looks too photoshopped to be an honest representation of the vehicle.
 
Craigh,
Thank you for your input. There is not saturation adjustment done. We only adjust two lightroom settings. These setting are voted on and approved by management after so many meetings ERRRRRG. I agree somewhat in your comment. We do use a hot lighting setup as management would prefer a look similar to in the Sun as we are in Az. No bodywork or chips are touched up ever. We only have a few minutes per car to shoot and edit. And its a preset setting in lightroom we use for each color.
 
My concern really stems from this photo. This looks like an over-saturated photo taken with HDR turned on. The front portion of the bumper almost has that animated look and the windshield has a strange green tinge to it.

80586_zpsc25f66c7.jpg
 
Craigh,
No HDR ever. What your seeing is at the original Lund booth there were two strobes in the front that reflected down directly onto the hood and bumper. Not very attractive. Again not a perfect shot but usable. From a photographers standpoint to me its bad lighting. There is even a stain in the carpet from where the tires used to rub. This booth was destroyed in the last rain fain. 3 feet of water flooded the studio and is now covered in black mold!. The turntable actually floated up and moved. I was just showing the different type of pictures from 4 different booths.
 
Actually LOOKS like oversharpening, more than just a saturation shift.

It looks like a lot more than that is going on. @DuffyL which version of Lightroom are you using? Are you using the Clarity and Vibrance settings? It looks like these settings have been used a little heavy-handed-ly. It could also be the lens/camera combination you're employing...what are those?

No matter what you've got, you can cut a lot of those reflections with a good circular polarizer. This is an excellent one for what you're doing: http://www.bhphotovideo.com/c/product/9778-REG/B_W_66044844.html but it might not be the right size for the lens you have. So let me know what equipment you're using and I'll point you to the proper one.

By the way, I no longer shoot cars as products, but I do have a pretty strong knowledge of the capture of light. It has taken me over 20 years to figure out what to use: https://axspot.wordpress.com/gearing-up/ ...just establishing some expertise based on investment.
 
Last edited:
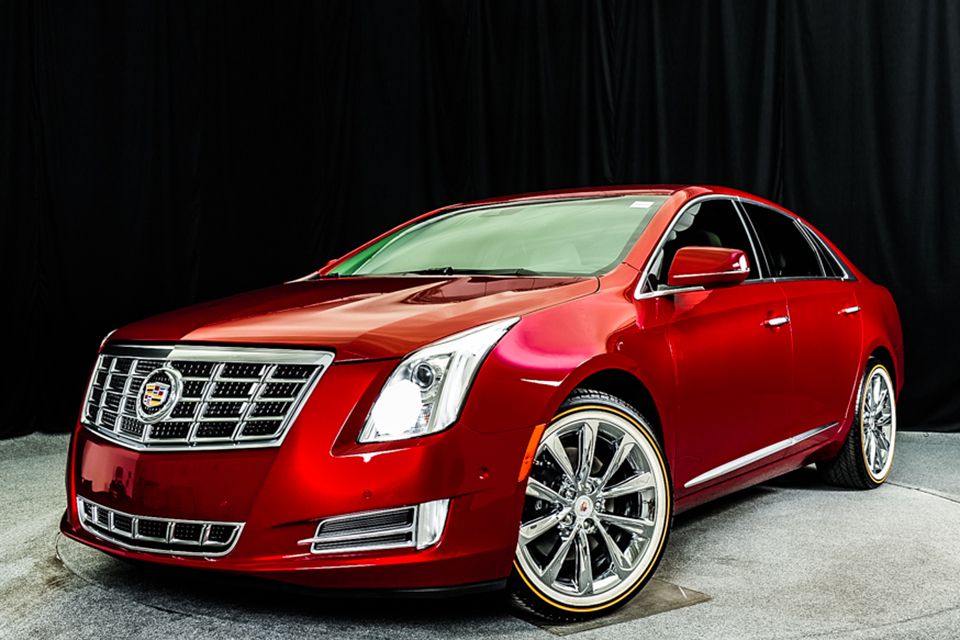
Just to continue the conversation I shot a vehicle today 1/28/15 and timed it. Went at a normal speed nothing different. I also timed the editing. I mainly wanted to do this as an example to just ad to the database we have here. My camera setup is about 2k with the lens purchased used as well as the body itself. The 10 years of shooting cars and working under one of the leaders in this industry was what helped the most.

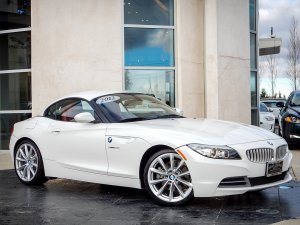
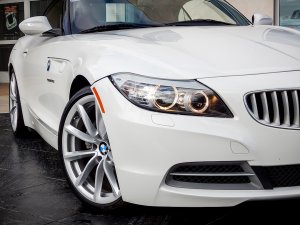
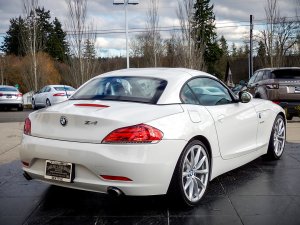
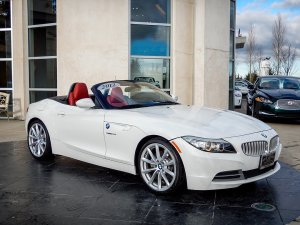
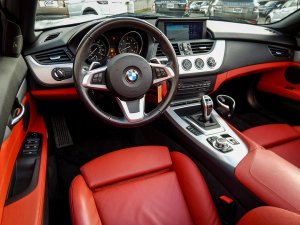
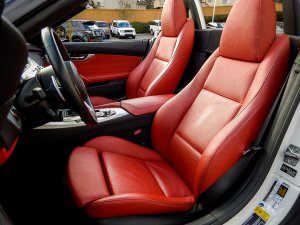
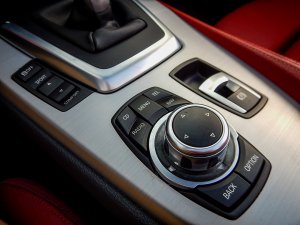
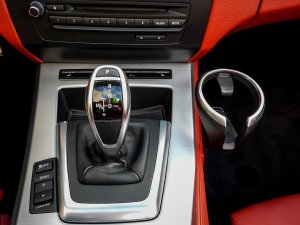
See the pictures attached, I feel rival and do the job just as good as any booth setup. It is a simple staging spot we use and I did something different for this shoot. The difference is I used my $150.00 coolpix point'n'shoot for this car. (I use this camera in heavy rain). No full frame camera, no fast lenses, no flash.


I guess what I am trying to illustrate with this is awesome gear and a photo booth will not just automatically give you great results in my opinion. Just training anyone at the dealer with a good setup does not equal a great setup. Now I do not try and get the perfect photo every shot, this shoot (25 photos in total) took me 5 minutes exactly from putting the car in park to putting in in reverse to move it. it also took me 2.5 minutes to edit the full 25 photo set. So that's lets say 8 minutes in total.
 

Attachments

  • DSCN5012.jpg
    DSCN5012.jpg
    316.8 KB · Views: 19
  • DSCN5013.jpg
    DSCN5013.jpg
    286.8 KB · Views: 19
  • DSCN5015.jpg
    DSCN5015.jpg
    314.8 KB · Views: 18
  • DSCN5016.jpg
    DSCN5016.jpg
    409.4 KB · Views: 18
  • DSCN5021.jpg
    DSCN5021.jpg
    343.6 KB · Views: 18
  • DSCN5024.jpg
    DSCN5024.jpg
    374.7 KB · Views: 18
  • DSCN5025.jpg
    DSCN5025.jpg
    361 KB · Views: 18
  • DSCN5030.jpg
    DSCN5030.jpg
    287.4 KB · Views: 18
  • DSCN5031.jpg
    DSCN5031.jpg
    282.3 KB · Views: 18